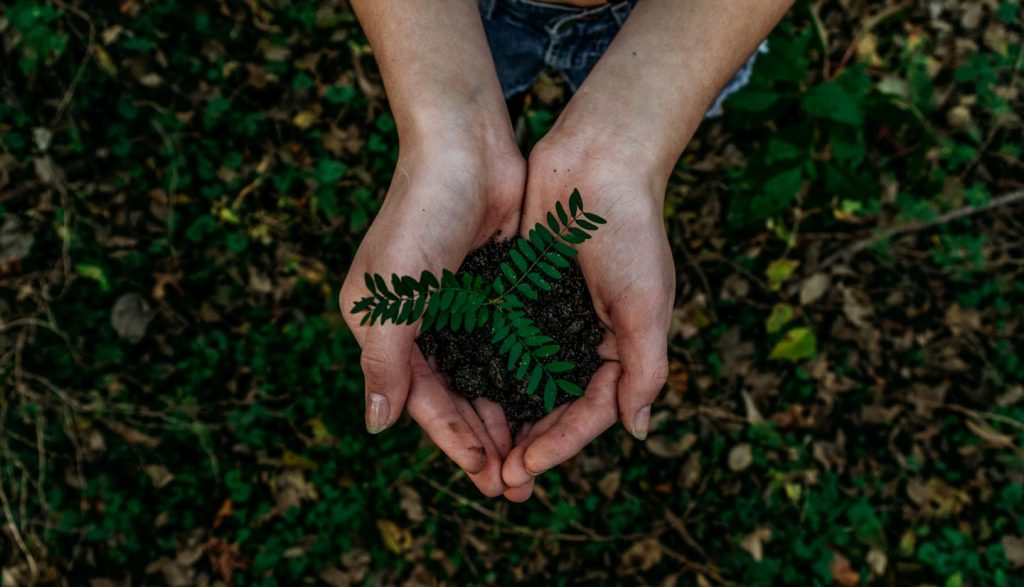
The Beginner’s Guide to Starting a Vegetable Garden (Small Space Friendly)
Starting a vegetable garden can feel big and confusing. You don’t need a large plot or expensive tools. With a small, steady plan you’ll see real results in one season. This guide walks you through the essentials: choosing a spot, improving soil, what to plant first, simple maintenance, and harvesting. Follow the 30‑day checklist to stay on track.
You can grow fresh vegetables in a small yard or containers. Start with one spot, pick three easy crops, improve your soil, and follow the 30‑day checklist to avoid overwhelm.
Three Quick Takeaways
- Start small — one bed, container, or patch is enough.
- Focus on soil and a few easy crops for quick wins.
- Use the 30‑day checklist to keep moving forward.
1. Pick one small spot and a clear goal
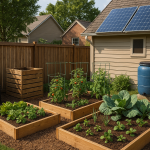
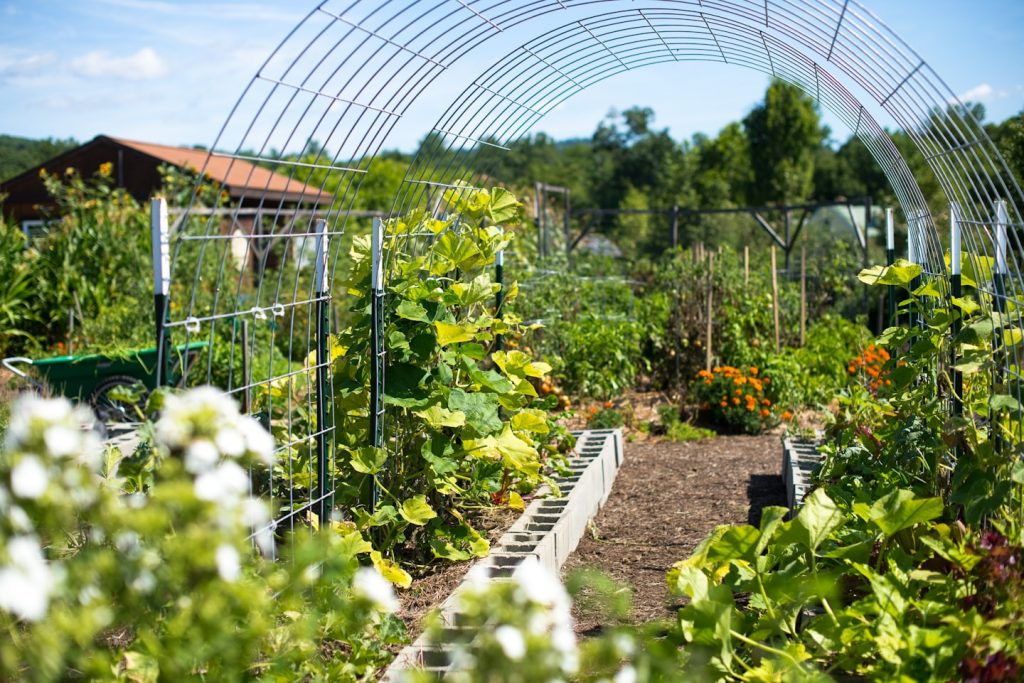
Instead of trying to garden everywhere at once, pick one small, realistic space you can easily care for—maybe a 4×4 raised bed, a narrow strip along a fence, or a few containers on a patio. Then decide what success looks like for you. That might be harvesting fresh salad greens for two people each week or growing enough tomatoes to keep summer salsa on the menu.
Having one clear, simple goal keeps things focused. It helps you choose the right plants, avoid overbuying, and spend your time where it actually pays off. Think of it like a test run: one space, one purpose, and a much better chance of a confident, rewarding first harvest.
Why small is best at first
Starting small reduces work and gives fast wins. You learn what the site needs and build confidence before expanding.
2. Check sunlight and water
Most vegetables are sun-lovers. Tomatoes, peppers, cucumbers, squash—these plants want at least 6 hours of direct sunlight, and many will happily soak up more if you’ve got it. Less sun usually means slower growth, fewer harvests, and veggies that look… a little disappointed in you.
Before you start digging, spend a day or two watching how the sun moves across your yard. Morning sun is great, afternoon sun is gold, and all-day sun is basically a VIP pass for vegetables. If a spot looks perfect at 9 a.m. but turns shady by lunch, keep looking.
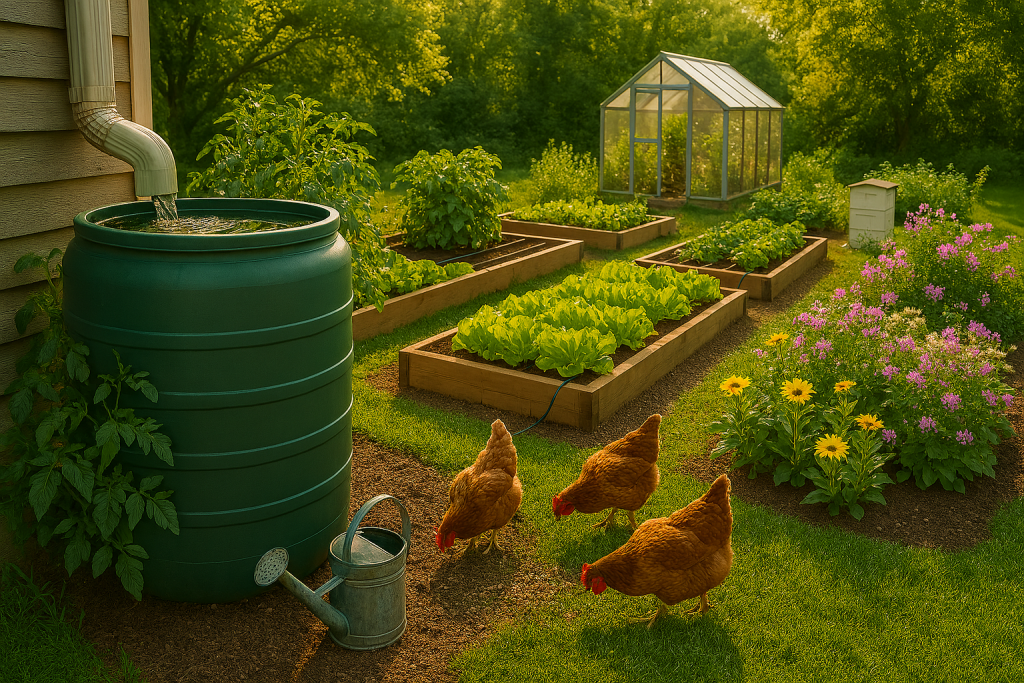
And while we’re being practical—water matters just as much as sunlight. If your garden is far from a hose, you’ll eventually start “forgetting” to water it (we’ve all been there). Choose a spot near a hose, rain barrel, or use large containers that hold moisture longer so your plants aren’t relying on your memory during a heat wave.
Quick sun test:
Stick something straight into the ground at noon—a shovel handle, broom, or even a stick.
- Short shadow? Great sun.
- Long shadow? That spot is better for shade-loving plants… or lawn chairs.
Your future harvest will thank you for choosing wisely.
3. Choose containers or bed style
Starting a vegetable garden doesn’t require perfect soil, expensive tools, or a big backyard. What does matter is choosing the right setup from the start. Whether you grow in containers, raised beds, or directly in the ground, the goal is the same: healthy plants, less frustration, and a garden you actually enjoy tending.
There’s no single “best” option—just the one that fits your space, time, and energy level. (Your back gets a vote here, too.)
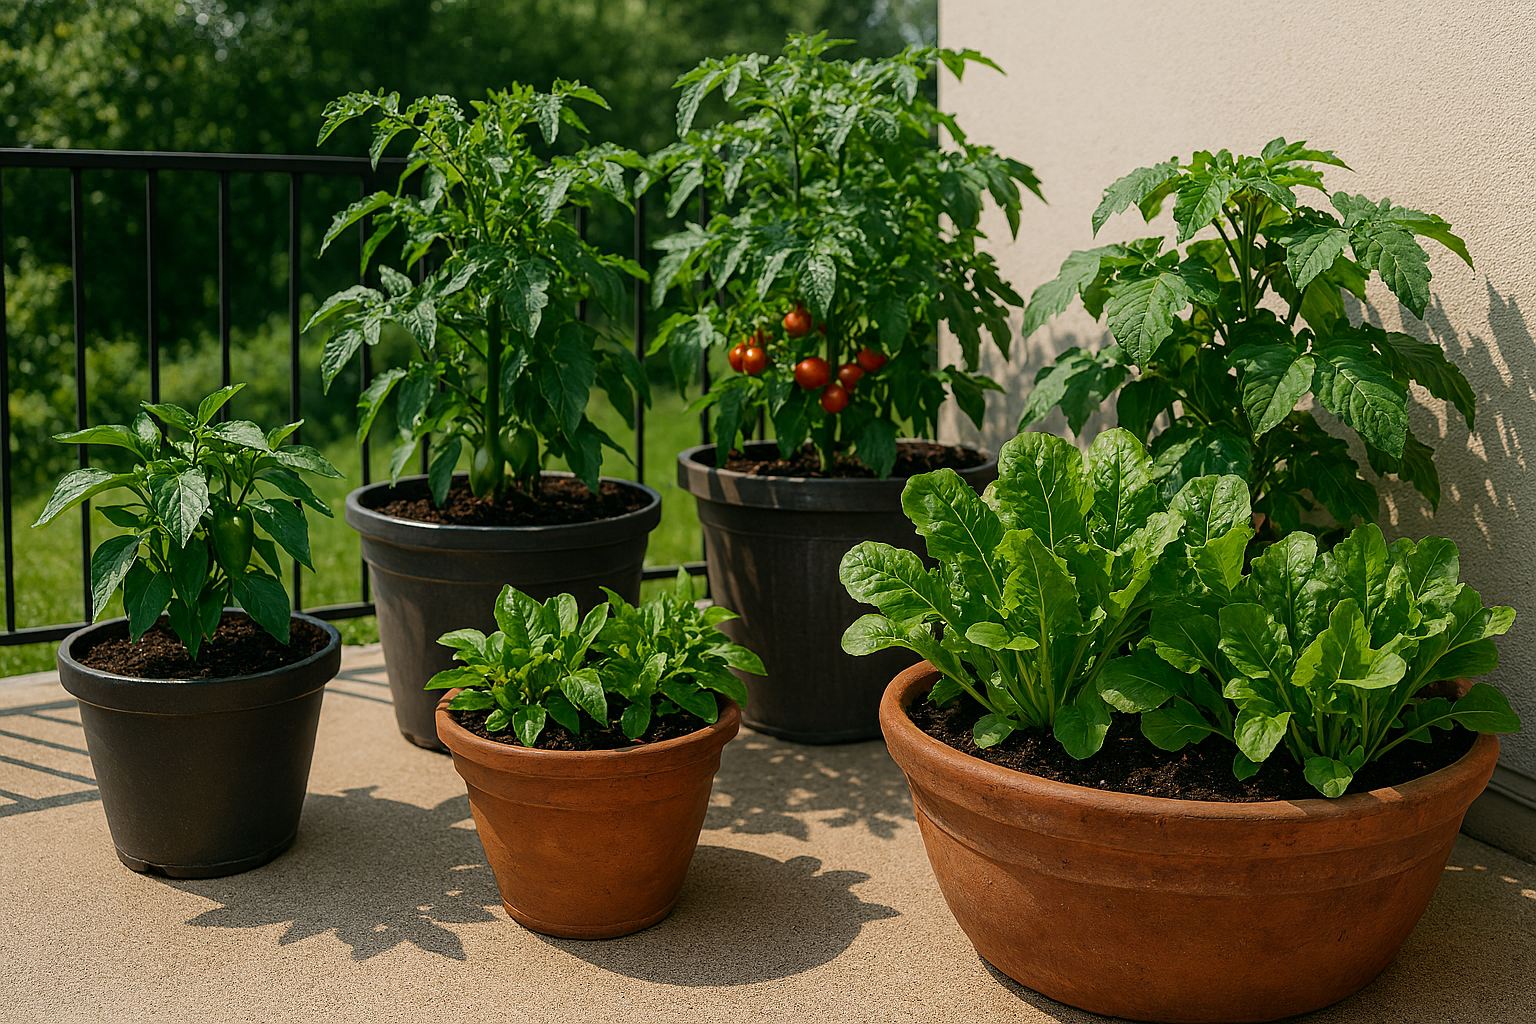

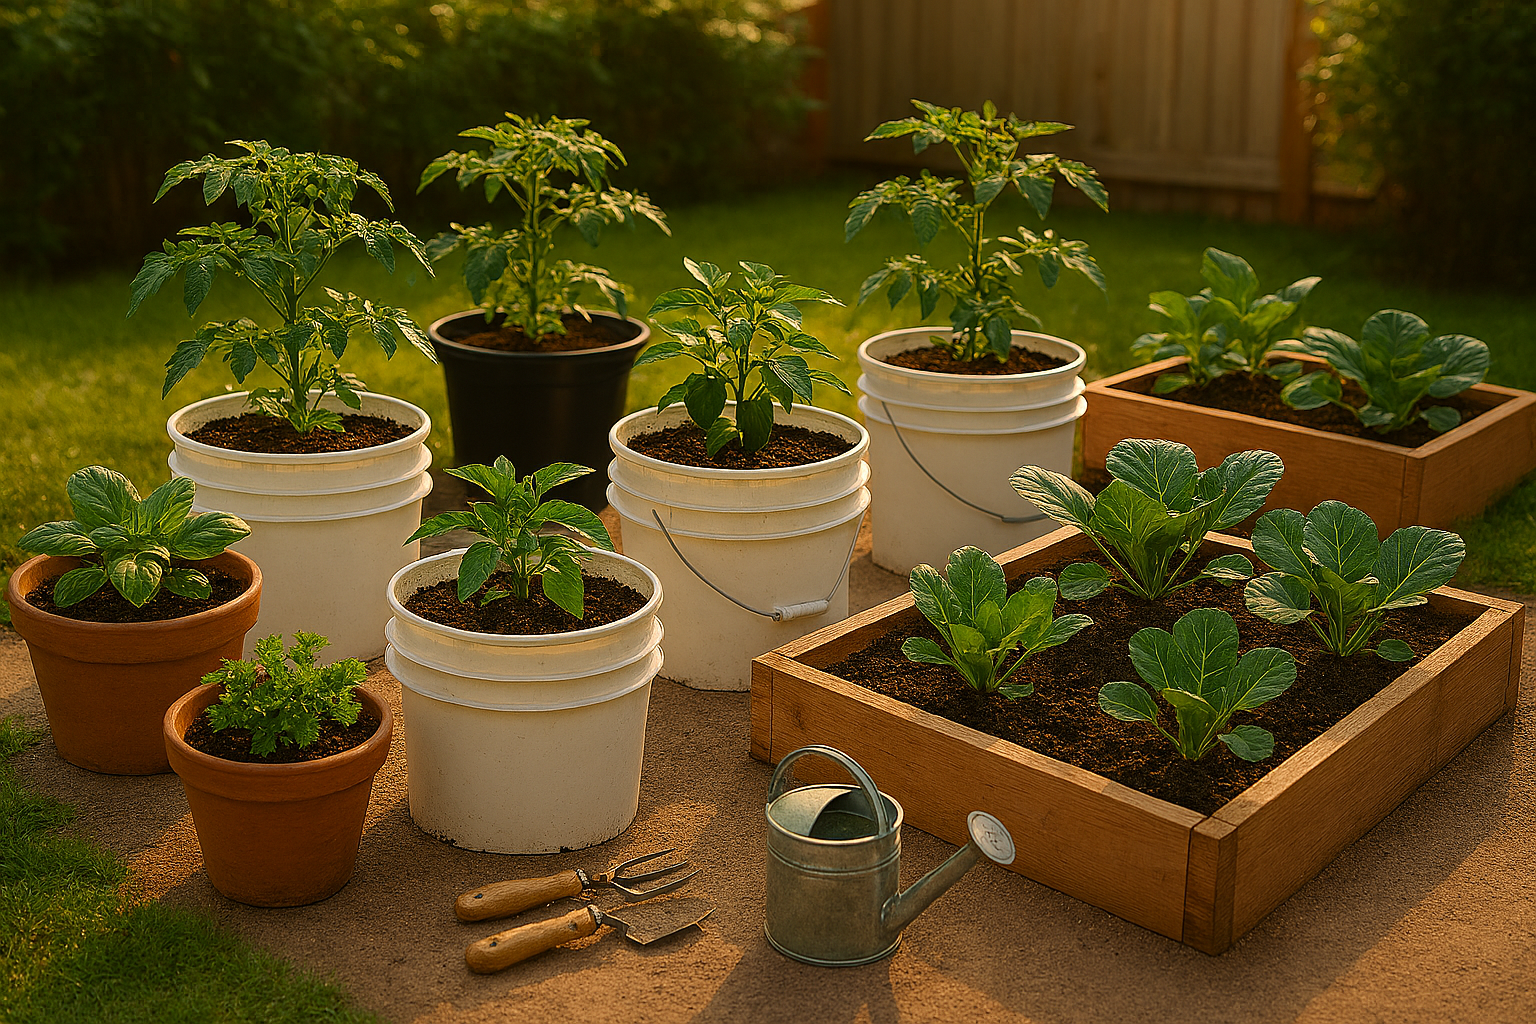
Containers (Great for Small Spaces)
Container gardening is one of the easiest ways to start growing vegetables, especially if you’re working with a patio, deck, driveway, or small yard. It’s flexible, affordable, and forgiving—perfect for beginners.
Choose containers that are at least 12 inches deep so roots have room to grow. Always make sure containers have drainage holes. Without them, water collects at the bottom, and plants quickly decline. Five-gallon buckets, fabric grow bags, and large planters all work well and are easy to find.
Best vegetables for containers: tomatoes, peppers, herbs, lettuce, and bush beans.
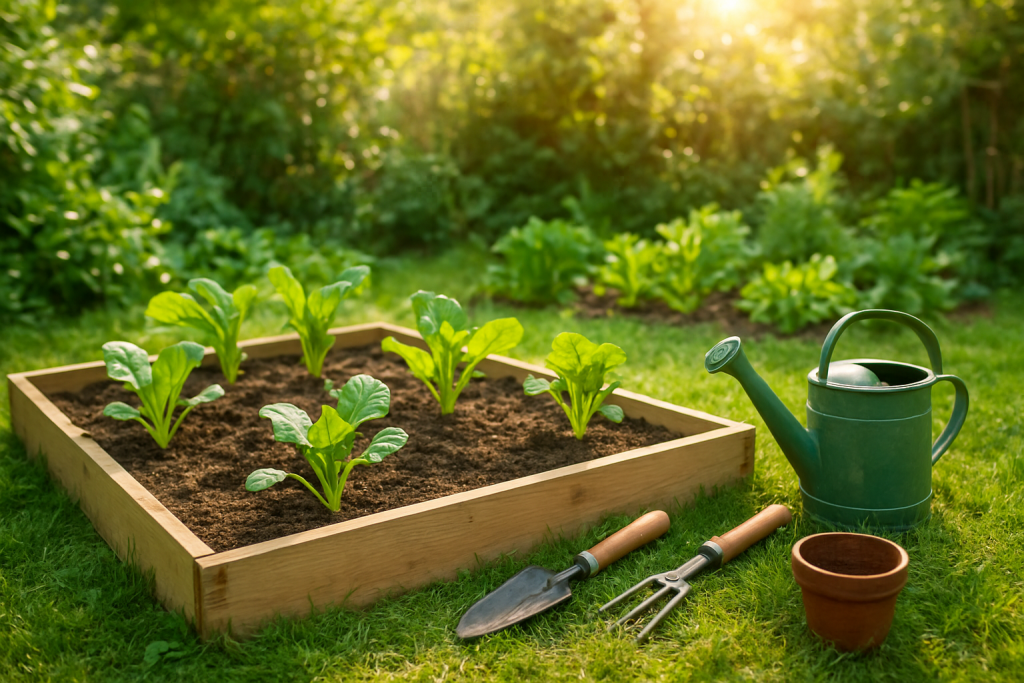
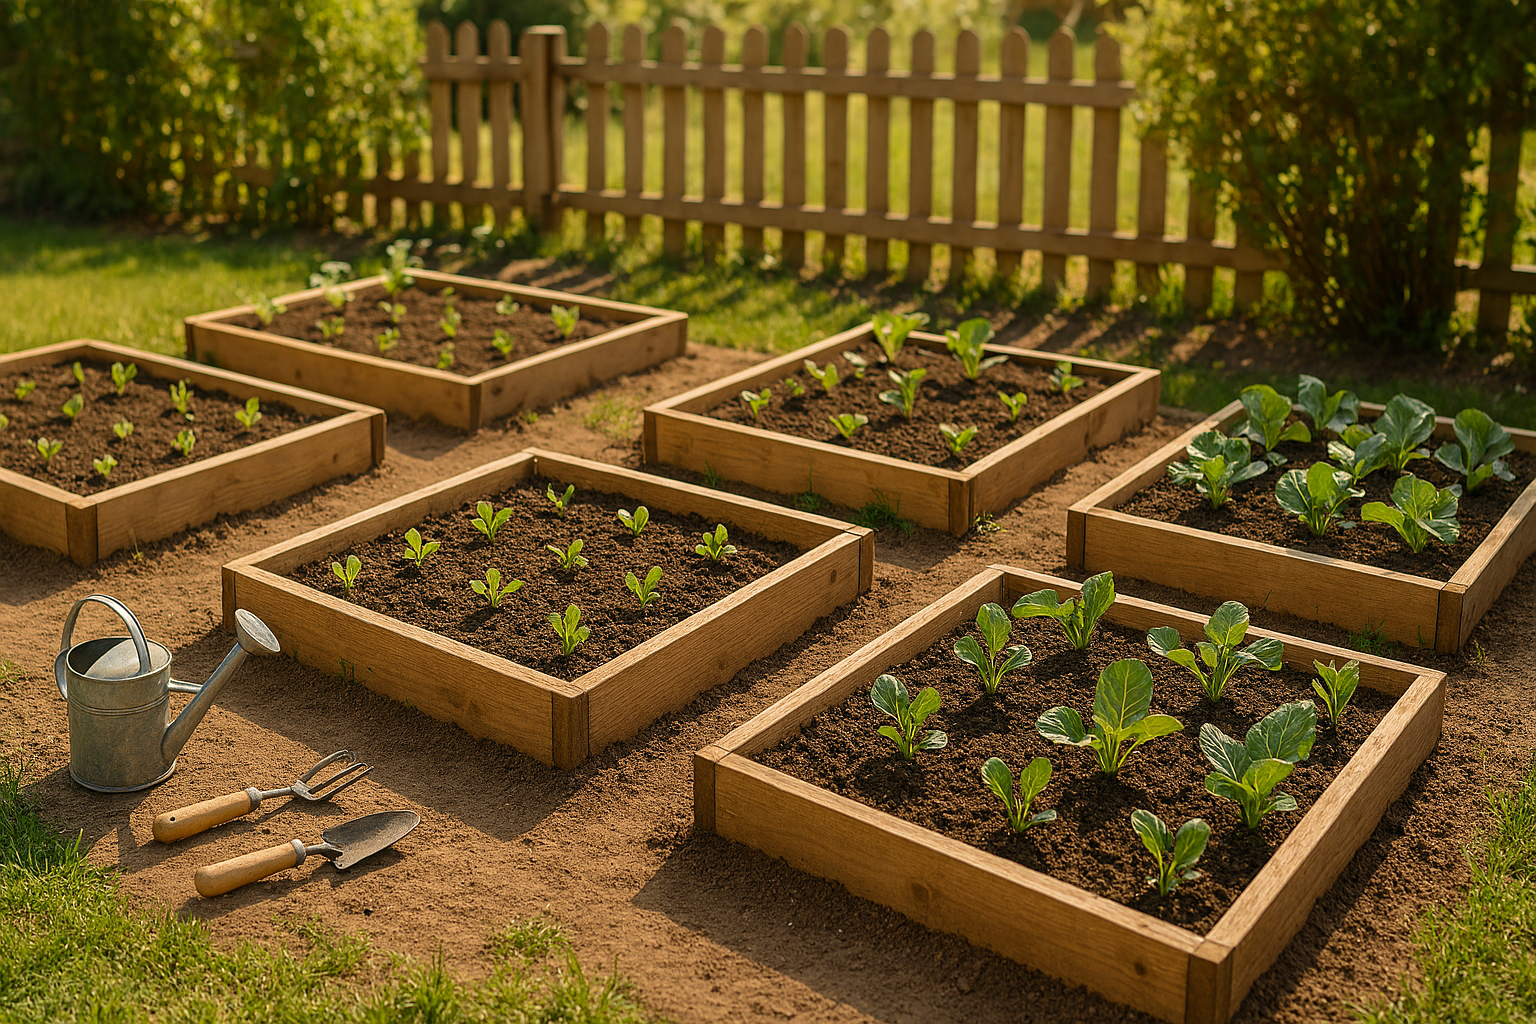
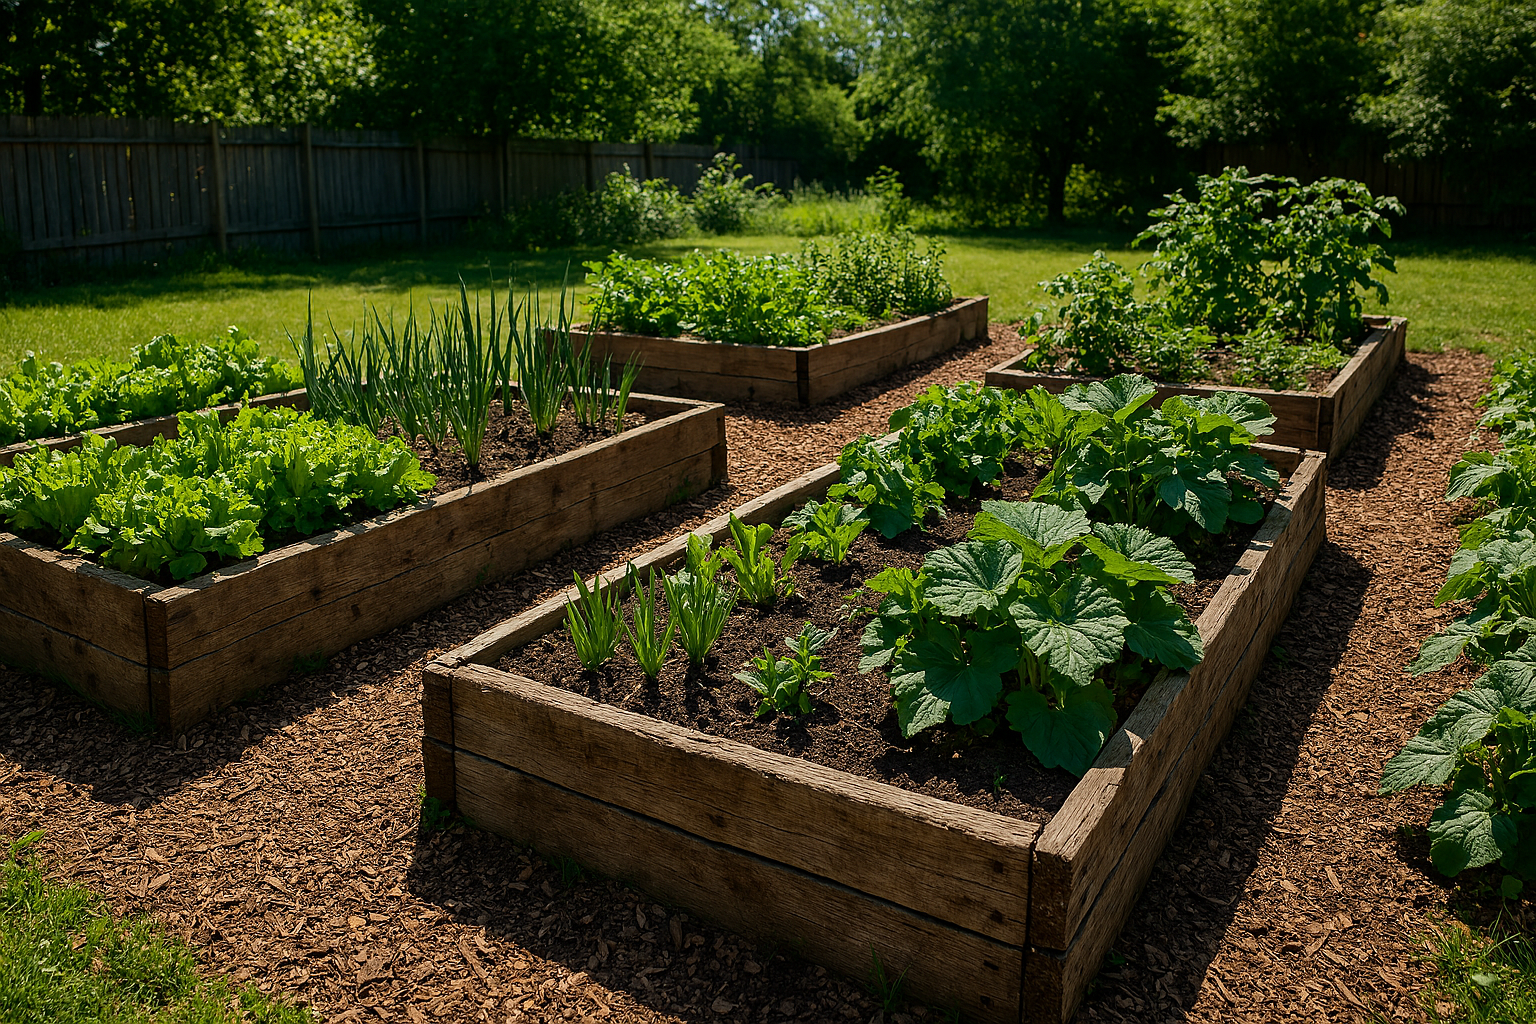
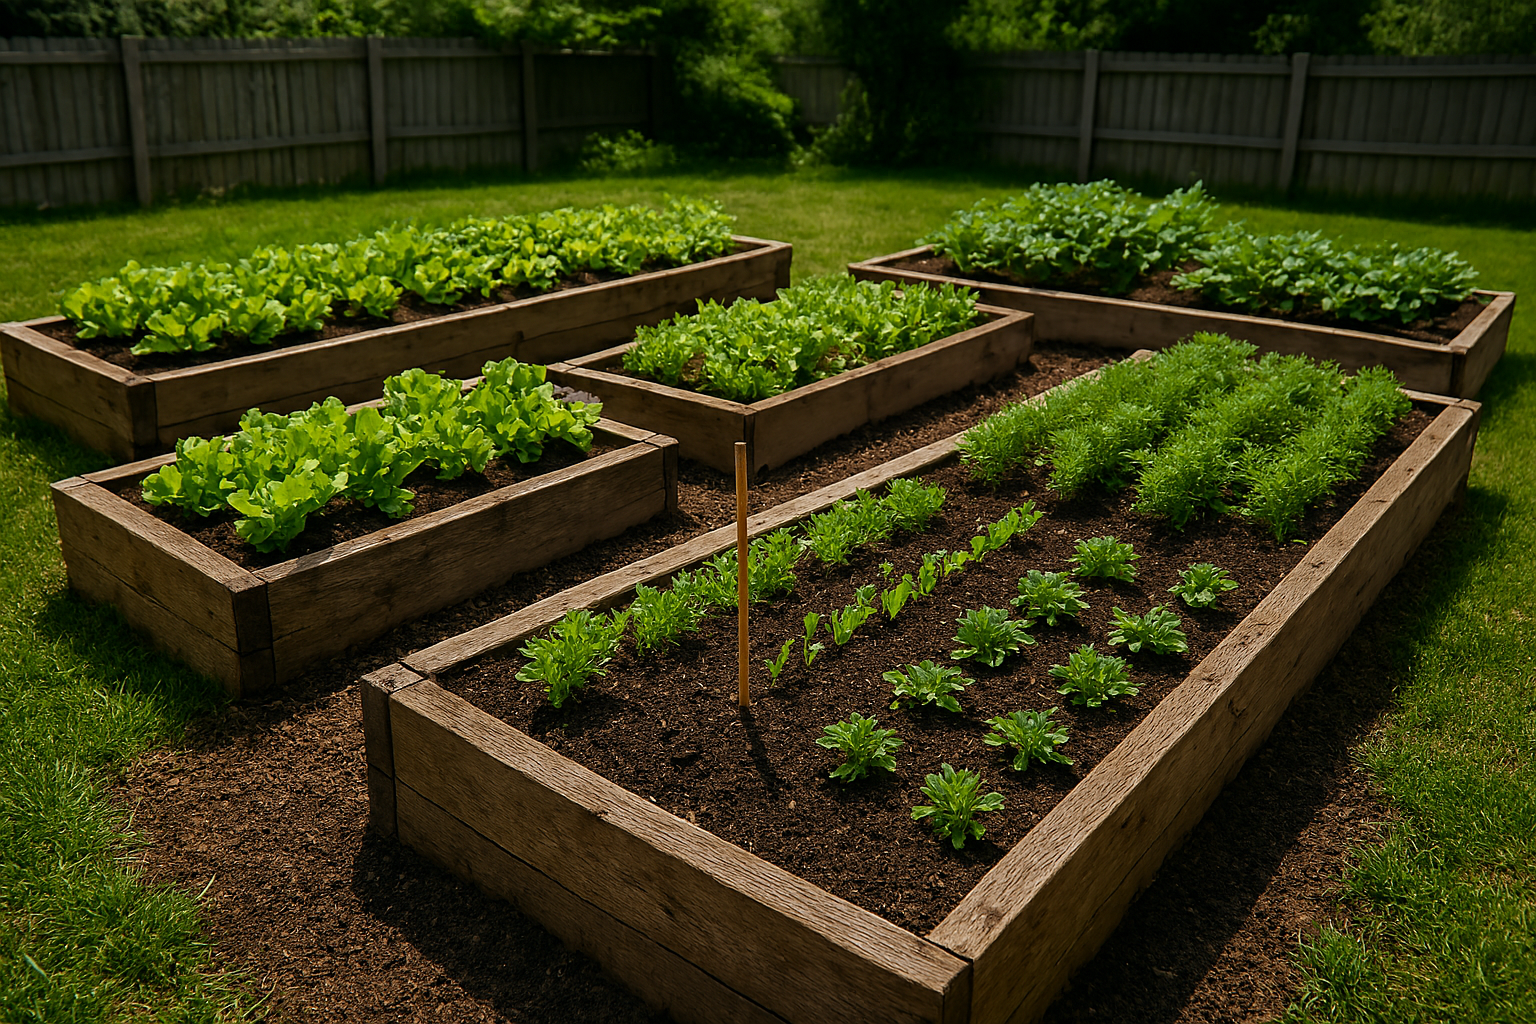
Raised Beds (The Easiest Long-Term Option)
Raised beds are a favorite among gardeners for good reason. They warm up faster in spring, drain well after heavy rain, and are much easier to manage than traditional garden rows—especially if bending over all day isn’t your idea of fun.
You can build raised beds using rot-resistant wood, composite boards, or concrete blocks. Fill them with quality soil once, and you’ll have a productive growing space for years. Raised beds also make it easier to control weeds and improve soil over time.
Best vegetables for raised beds: nearly everything, including root crops, leafy greens, tomatoes, and peppers.
In-Ground Gardening (Simple and Budget-Friendly)
If you already have decent soil, planting directly in the ground is the most affordable way to garden. Start small by loosening the soil and mixing in compost to improve drainage and nutrients.
Rather than planting the entire yard at once, begin with one or two manageable rows. This makes maintenance easier and helps you learn what grows well in your space before expanding.
Best vegetables for in-ground gardens: corn, squash, potatoes, and other space-hungry crops.
Not Sure What to Choose? Use This Quick Guide
- Small yard, patio, or renter? → Containers
- Want the easiest setup with the best results? → Raised beds
- Have good soil and plenty of space? → In-ground garden
If it feels overwhelming, start with containers. You can always add raised beds later—gardens tend to multiply when no one’s looking.
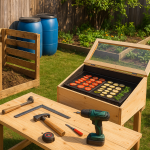
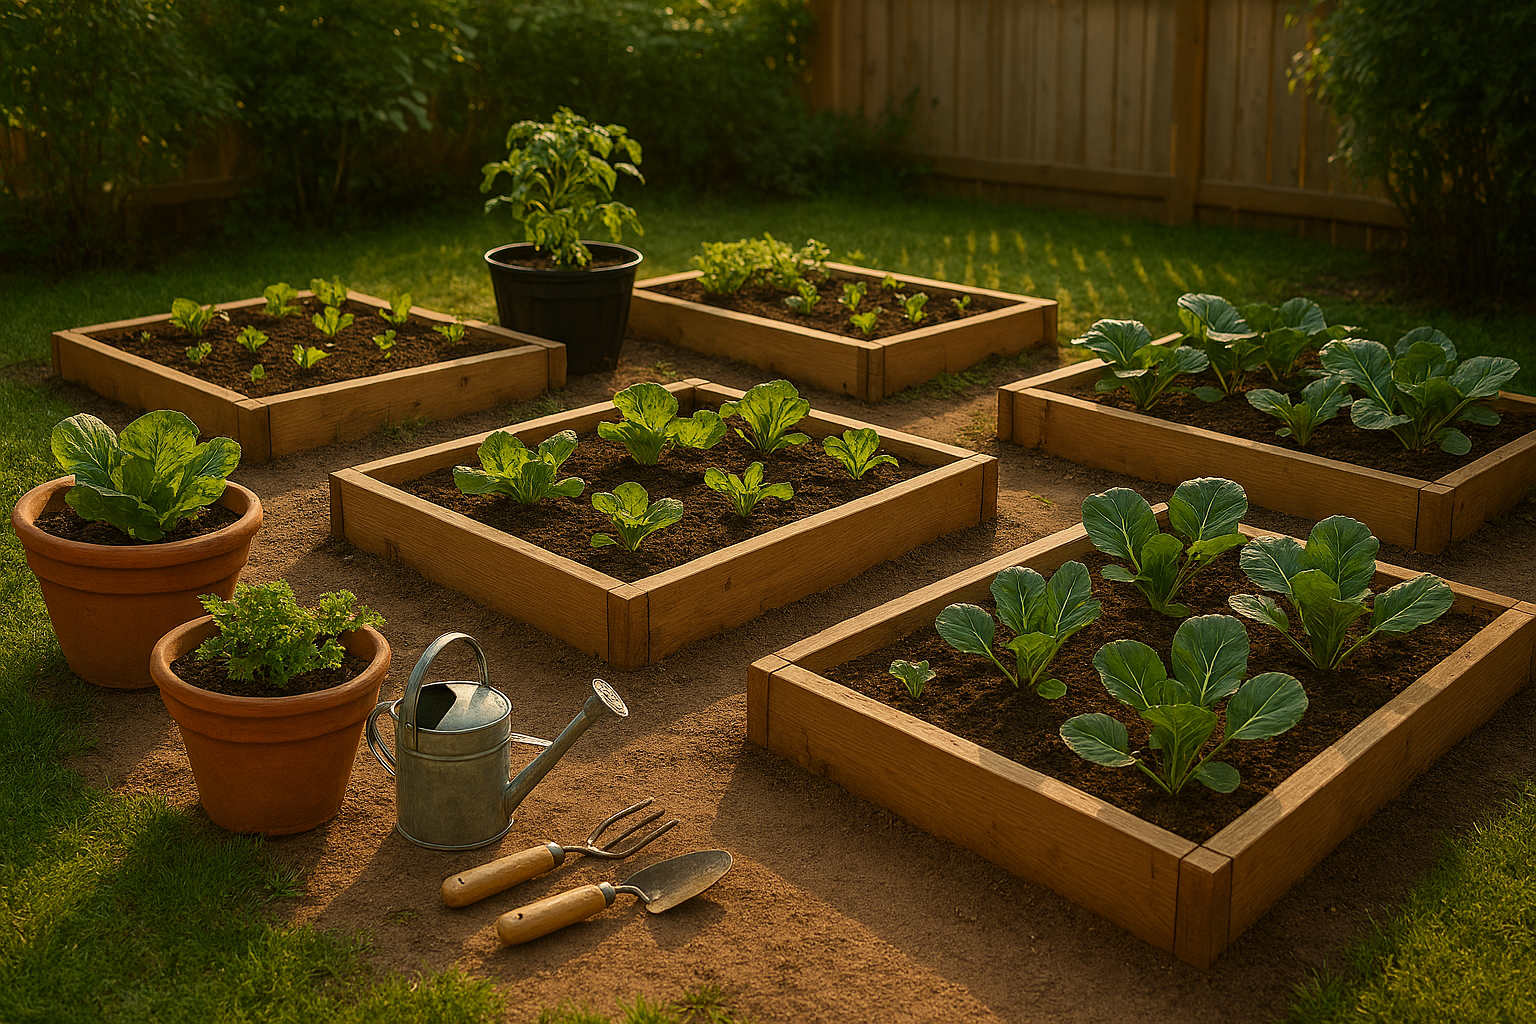
Simple Materials List for Getting Started
You don’t need a shed full of tools to begin. Focus on the basics and build from there.
Garden Setup Materials
- Containers or raised bed frames
- Quality potting mix or garden soil mixed with compost
- Mulch (straw, shredded leaves, or wood chips)
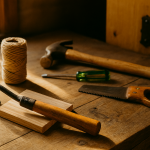
Basic Tools
- Trowel
- Hand fork
- Watering can or hose with a gentle spray nozzle
Beginner Garden Setup Checklist
Choose Your Growing Style
- ⬜ Containers
- ⬜ Raised beds
- ⬜ In-ground garden
Before You Plant
- ⬜ Confirm 6–8 hours of sunlight
- ⬜ Ensure proper drainage
- ⬜ Start small and plan to expand later
Supplies Ready
- ⬜ Soil and compost
- ⬜ Mulch
- ⬜ Basic hand tools
(If someone tells you that you need more than this on day one, they’re selling something.)
Beginner Tip:
If you want the highest success rate with the least stress, raised beds are hard to beat. If you want flexibility and simplicity, containers are your best friend. Either way, the most important step is starting.
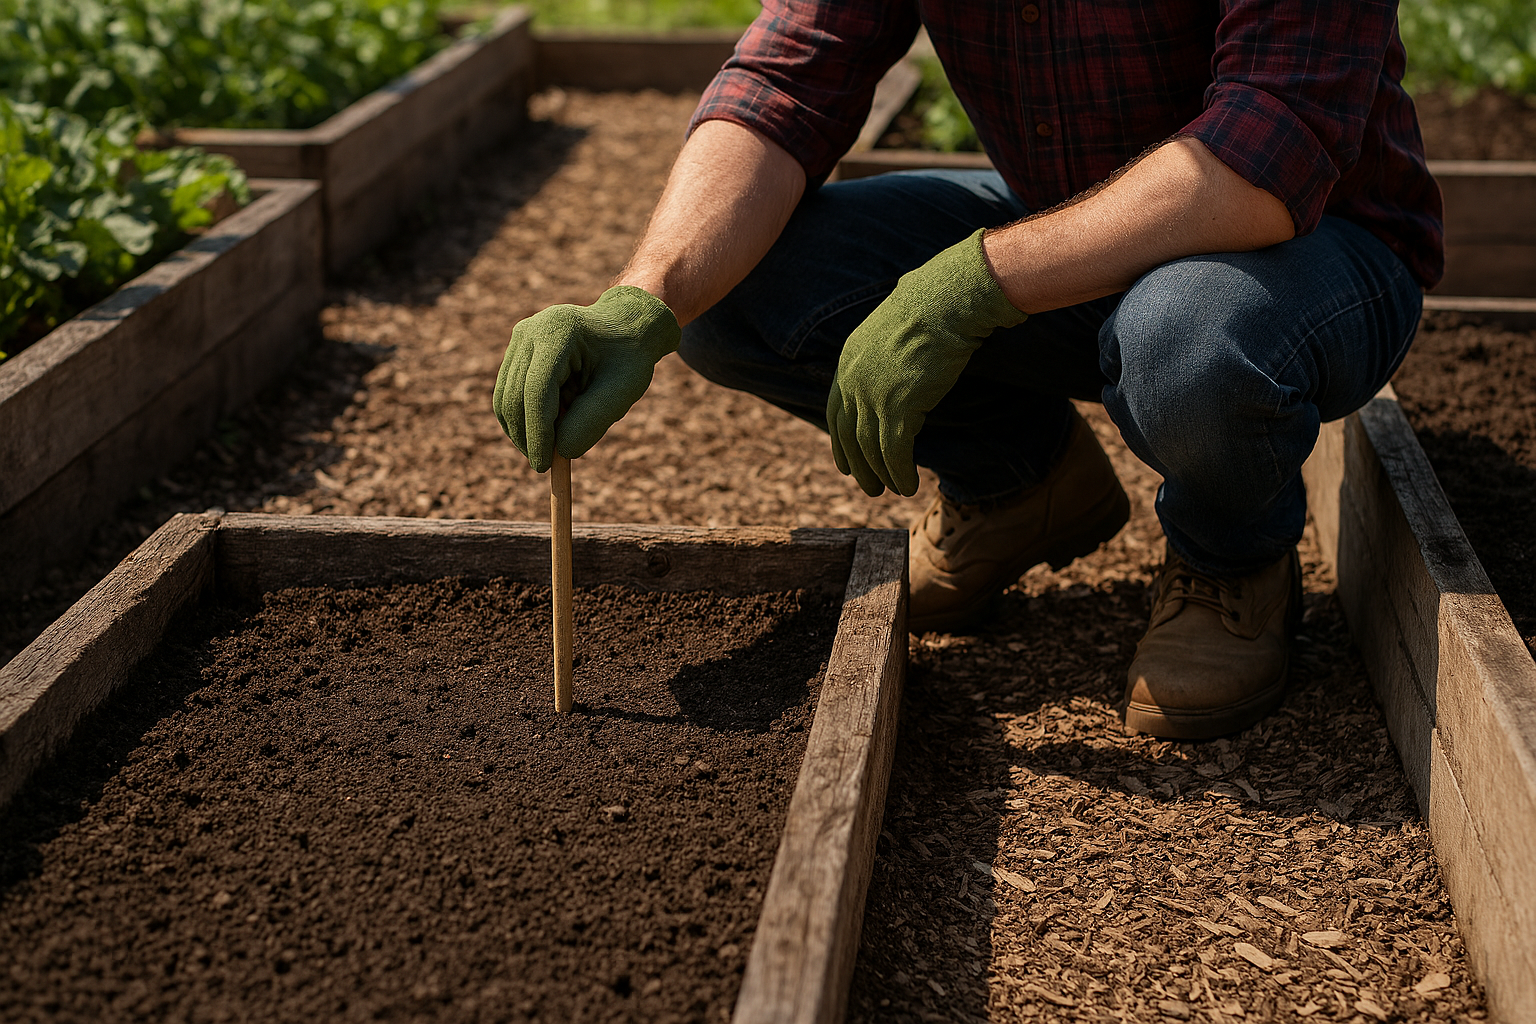
4. Build good soil first
Soil is the most important thing to improve. Good soil makes plants healthy and reduces pest problems.
- Add compost: mix 2–3 inches into the top 6–8 inches of soil or fill containers with potting mix + compost.
- Test drainage: dig a 12″ hole, fill with water, and time drainage — it should drain within a few hours.
- Consider a simple soil test kit (pH and nutrients) to know if you need lime or amendments.
5. Pick three easy starter crops
Choose crops that germinate fast and give quick rewards. Quick wins keep motivation high.
- Lettuce and salad greens — great for containers.
- Radishes — very fast (3–4 weeks).
- Cherry tomatoes or compact determinate tomatoes — high yield, easy care.
- Herbs — basil, chives, parsley are forgiving and useful.
6. Seed starting vs. direct sowing
Some plants prefer to be planted right where they’ll grow, while others do better with a head start. Knowing which is which saves time, frustration, and wasted seeds.
Direct sowing means planting seeds straight into the garden soil. This works best for fast-growing crops and plants that don’t like their roots disturbed. Radishes, beans, carrots, peas, and many leafy greens fall into this category. These seeds germinate quickly and grow best when they’re never moved.
Seed starting indoors is ideal for warm-season crops that need a longer growing period. Tomatoes, peppers, and eggplants benefit from being started indoors about 6–8 weeks before your last expected frost. This gives them time to grow strong before heading outside and helps you get a jump on the season.
Seed starting basics
Keep things simple. Start with fresh seeds and clearly labeled trays or pots—seedlings all look the same at first, and guessing games rarely end well. Use a light, well-draining seed-starting mix and keep the soil consistently damp, not soggy. Too much water can cause rot, while dry soil stops germination cold.
Light is critical once seeds sprout. A sunny window can work, but an inexpensive grow light placed a few inches above the seedlings produces sturdier plants. Without enough light, seedlings stretch, tip over, and struggle later.
Before planting outdoors, give your seedlings time to adjust. “Hardening off” means gradually exposing them to outdoor conditions over about a week. Start with a few hours of shade and calm weather, then slowly increase sun and time outside. This simple step prevents shock and helps your plants transition smoothly into the garden.
Seed starting basics
- Use fresh seeds and labeled trays.
- Keep soil damp, not waterlogged.
- Provide light — a sunny window or affordable grow light.
- Harden off seedlings for a week before planting outside.
7. Planting timeline (simple)
Timing matters, but it doesn’t need to be complicated. Think in seasons, not exact dates, and let soil temperature and weather guide you more than the calendar.
Early spring (after the last frost)
This is the season for cool-weather crops that don’t mind chilly nights. Plant peas, spinach, lettuce, kale, and other leafy greens as soon as the soil can be worked. These crops grow fast and give you early wins, which is a big confidence booster for new gardeners.
Mid spring
As the soil warms, it’s time to direct-sow root crops like radishes, carrots, and beets. Radishes are especially beginner-friendly and can be ready in just a few weeks. If nights are staying mild and soil temperatures are warm enough, you can begin hardening off and starting tomato seedlings outdoors, protecting them if a cold snap threatens.
Late spring to early summer
This is prime planting time for warm-season favorites. Transplant tomatoes and peppers once nights stay consistently above 50°F, and sow beans directly into the soil—they prefer warmth and grow quickly. Make sure everything gets watered well after planting to reduce stress and help roots establish.
Summer
Now the garden shifts from planting to harvesting—but you’re not done sowing. Continue picking produce regularly to keep plants productive, and replant fast-growing crops like lettuce, radishes, or bush beans every few weeks. This succession planting keeps fresh food coming instead of one big harvest all at once.
Late summer
As temperatures begin to cool, take advantage of the remaining growing time. Make a small second planting of fall crops such as spinach, lettuce, kale, or turnips. These plants thrive in cooler weather and often taste sweeter as the season winds down.
A simple timeline keeps you from feeling rushed or overwhelmed. Plant a little at a time, pay attention to the weather, and let the garden set the pace—you’ll be surprised how much you can grow by just showing up at the right moments.
8. Watering and feeding (keep it simple)
When it comes to watering, less often and more thoroughly is the goal. Give your plants a deep soak once or twice a week instead of quick daily sprinkles. Deep watering encourages roots to grow down into the soil, making plants stronger and more drought-resistant. Light, frequent watering does the opposite—it keeps roots shallow and plants needy.
Mulch is your quiet garden MVP. A layer of straw, shredded leaves, or wood chips helps the soil hold moisture, keeps roots cooler, and slows down weeds before they ever get started. Bonus: as organic mulch breaks down, it feeds your soil for free.
Feeding doesn’t need to be complicated. If your plants are growing well and staying green, you’re doing fine. If they start looking pale or sluggish, a monthly boost of compost tea or a balanced organic fertilizer is usually all they need. Think of fertilizer as a supplement, not a crutch—healthy soil does most of the work, and your job is just to support it.
9. Pest and disease basics (gentle, practical)
Healthy gardens don’t happen by accident—they happen because someone is paying attention. The good news? You don’t need harsh chemicals or expert-level knowledge to stay ahead of most problems.
Start with regular observation. A quick five-minute walk through your garden each day is one of the most effective pest-control tools you have. Look under leaves, check new growth, and notice changes in color or texture. Catching issues early is the difference between a small annoyance and a full-blown infestation.
For larger pests like caterpillars or beetles, old-fashioned handpicking works surprisingly well. Drop them into a container of soapy water and call it a day. For soft-bodied insects such as aphids, whiteflies, or spider mites, a simple soapy water spray can knock them back without harming your plants or the soil. It’s effective, inexpensive, and far gentler than most store-bought sprays.
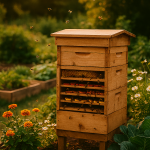
Invite the good guys into your garden. Companion flowers like calendula and borage attract beneficial insects—ladybugs, lacewings, and pollinators—that naturally keep pest populations in check. Think of them as free garden helpers who work the day shift and never complain.
Finally, rotate your crops when possible. Planting the same vegetables in the same spot year after year allows pests and diseases to settle in and get comfortable. Changing plant families each season disrupts their life cycle and keeps your soil healthier. Even a simple rotation can make a noticeable difference.
A calm, consistent approach goes a long way. Pay attention, act early, and let nature do some of the heavy lifting—you’ll spend less time fighting problems and more time enjoying the harvest.
- Observe regularly: a five‑minute walk daily helps catch problems early.
- Handpick larger pests and use soapy water sprays for soft pests like aphids.
- Plant companion flowers (calendula, borage) to attract helpful insects.
- Rotate crops yearly if possible.
10. Harvesting and next steps
Harvesting is the fun part—the moment all that watering, waiting, and mild plant-staring finally pays off. Start with leafy greens like lettuce by cutting the outer leaves first and leaving the center intact. This “cut-and-come-again” approach lets the plant keep producing instead of calling it quits after one harvest.
Tomatoes are ready when they’re fully colored, slightly soft to the touch, and come off the vine with a gentle twist. If you have to wrestle it like it owes you money, it’s not quite ready. Don’t worry if they’re not perfect—homegrown tomatoes are allowed to be a little weird. They still taste amazing.
As the season winds down, take a few minutes to jot down simple notes. What grew well? What struggled? Did pests show up early, late, or throw an unexpected party? These quick observations become gold next year and save you from repeating the same mistakes (because gardens love teaching lessons the hard way).
The biggest next step? Do it again. Gardening gets easier—and more rewarding—every season. Even a small harvest builds confidence, and before you know it, you’ll be planning next year’s garden before this one is even finished.
- Harvest lettuce by cutting outer leaves so plants regrow.
- Pick tomatoes when fully colored and slightly soft.
- Keep simple notes: what worked, what didn’t, and pest observations for next year.
A simple schedule for your first season
- Weeks 1–2: Prepare site, add compost, choose crops.
- Weeks 3–4: Start seeds indoors (if needed) and direct sow quick crops.
- Weeks 5–8: Transplant seedlings and mulch.
- Week 9 onward: Harvest, maintain, and sow succession crops.
Troubleshooting quick guide
- Yellow leaves: check watering and drainage.
- Poor germination: seeds old or planted too deep — try fresh seeds and shallower planting.
- Slow growth: add compost and check for pests.
Closing encouragement
Your first garden doesn’t need to be perfect. Small experiments teach the most. Celebrate small wins — a bowl of fresh salad is a big success. Use the 30‑day checklist below to get started. I’ll be here to help with plant choices for your zone and troubleshooting.
30‑Day Garden Starter Checklist
- Day 1 — Choose your spot (4×4 bed, row, or containers). Mark area.
- Day 2 — Check sunlight (track sun a full day). Note 6+ hours?
- Day 3 — Check water access. Plan watering method.
- Day 4 — Gather basic materials (pots/bed frame, soil, compost, mulch, trowel).
- Day 5 — Add 2–3 inches compost to bed or fill containers with potting mix + compost.
- Day 6 — Decide three starter crops (pick from lettuce, radish, cherry tomato, herbs).
- Day 7 — Buy seeds or seedlings for chosen crops.
- Day 8 — If starting seeds indoors, set up trays and label them.
- Day 9 — Sow direct seeds for radish, lettuce, or peas as appropriate.
- Day 10 — Start seeds indoors for tomatoes (6–8 weeks before last frost) if needed.
- Day 11 — Water deeply and add mulch around new plantings.
- Day 12 — Make plant markers and a simple watering schedule.
- Day 13 — Check for pests; remove any snails or large pests by hand.
- Day 14 — Monitor germination; note any gaps to re‑sow in 1 week.
- Day 15 — Thin seedlings as needed (leave strongest plants).
- Day 16 — Harden off any seedlings you’ll transplant next week.
- Day 17 — Transplant seedlings into garden or containers.
- Day 18 — Add a slow‑release organic fertilizer (optional) or a cup of compost around plants.
- Day 19 — Lay down mulch to conserve moisture.
- Day 20 — Short inspection walk: look for pests/disease.
- Day 21 — Pinch off early flowers from tomato seedlings to focus energy on roots (optional).
- Day 22 — Sow a second quick batch of salad greens for succession.
- Day 23 — Check ties/supports for taller plants (tomatoes, beans).
- Day 24 — Water deeply; note soil moisture level for your next watering.
- Day 25 — Harvest any early radishes or baby greens.
- Day 26 — Make a quick note of any pests and what worked for control.
- Day 27 — Add compost tea or a light feed if plants look pale.
- Day 28 — Sow herbs in pots or between plants as companions.
- Day 29 — Prep a small storage or drying area for harvested herbs/produce.
- Day 30 — Review notes: what to repeat, what to change next month.
Common questions
Can I garden in containers all season?
Yes. Use larger containers for tomatoes and peppers and refresh soil with compost midseason.
How much sun do vegetables need?
Most need 6+ hours of sun; leafy greens tolerate less.
What are the easiest vegetables for beginners?
Lettuce, radishes, cherry tomatoes, and herbs.
Should I start seeds indoors?
Start tomatoes and peppers indoors 6–8 weeks before last frost; direct sow radishes and many greens.
Beginner Tip:
If you want the highest success rate with the least stress, raised beds are hard to beat. If you want flexibility and simplicity, containers are your best friend. Either way, the most important step is starting.
[Internal link: common beginner gardening mistakes to avoid]